最近deepseek很火,我也来蹭一波热度,本次是使用自己的迷你电脑联想(Lenovo)来酷MINI PRO来跑的,机器是很迷你,外观如下图

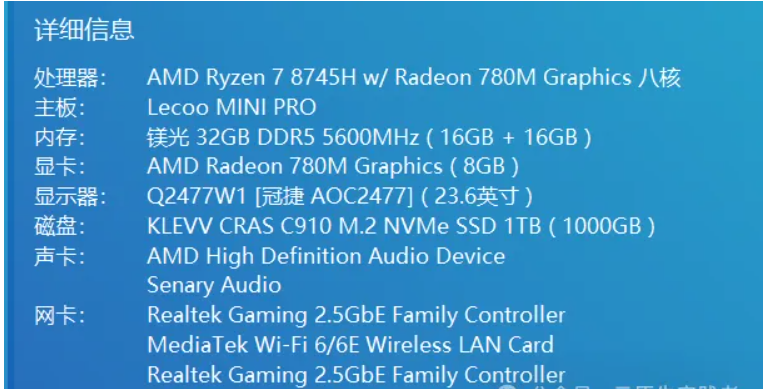
锐龙7 8745H 对比锐龙7 8845H 主频低一点且没有NPU但是价格降了,NPU暂时也用不上,总体性能还不错,性价比也很高,叠加国补当时购买价格2446, 还送了一套联想小新K1轻音键鼠套装,配置如图(BIOS中我给核显分配了8g内存)
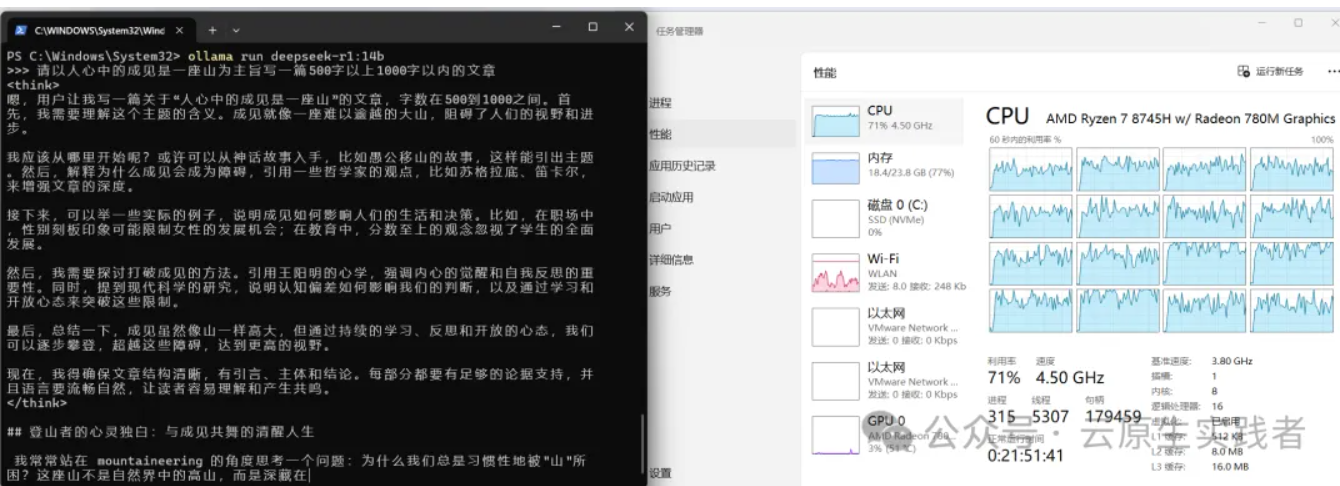
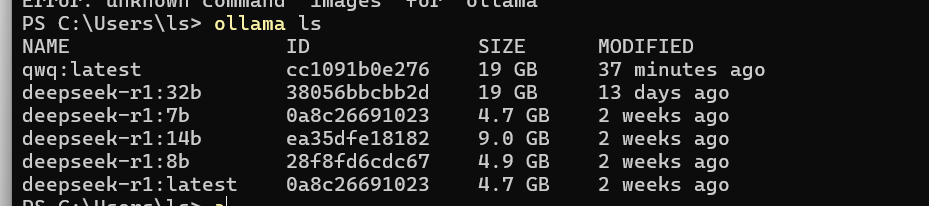
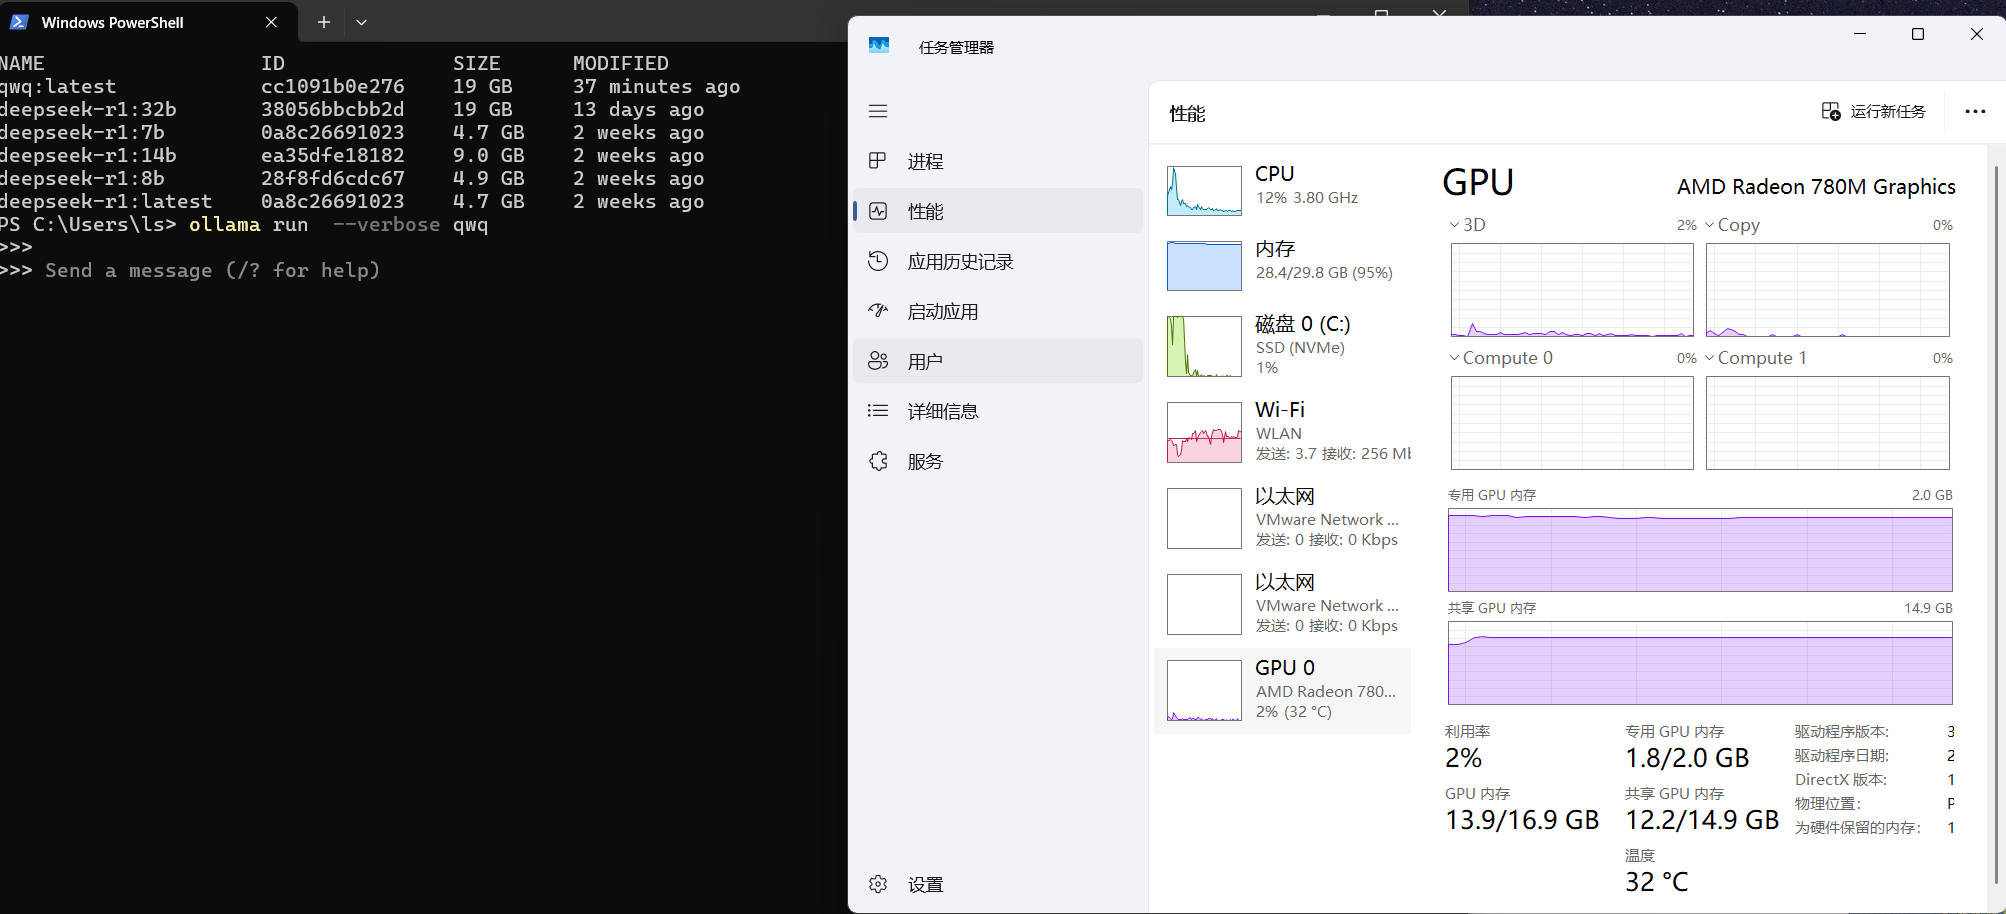
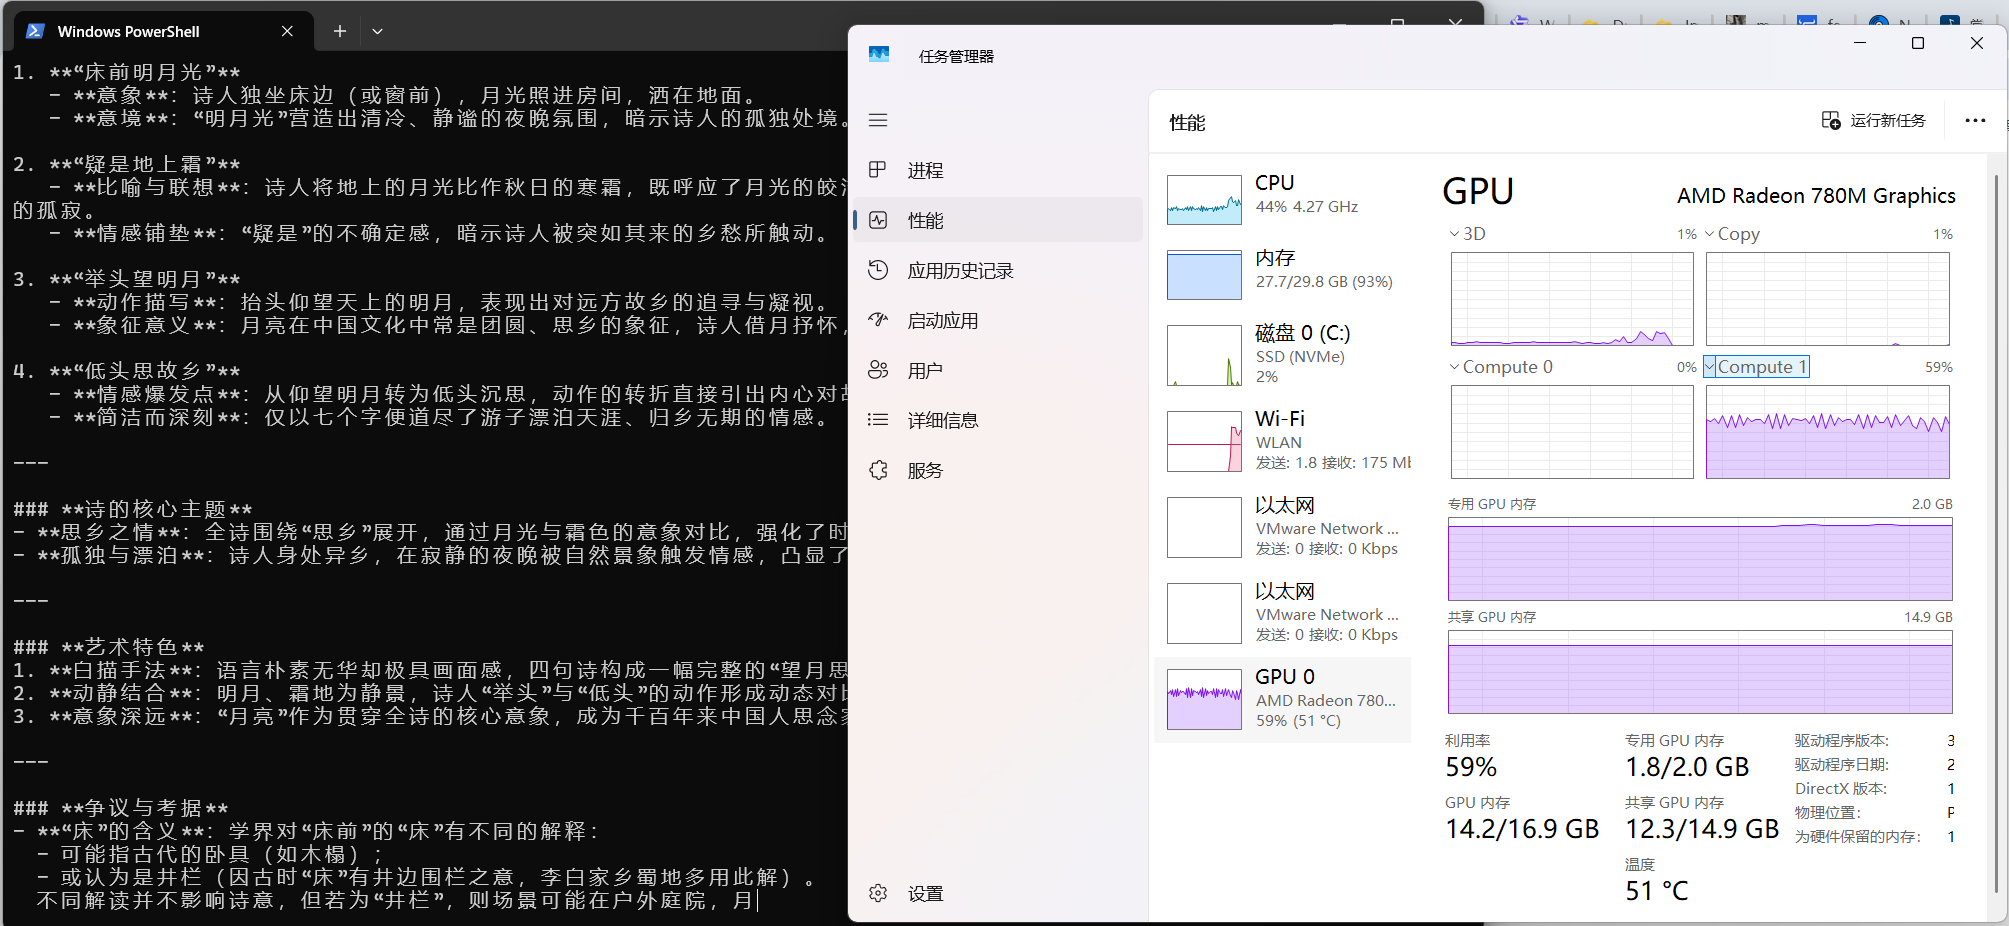
目前用这个机器运行ollama ,如下图发现还是使用cpu和内存跑的而不是使用GPU,虽然速度勉强能行,但是总感觉有遗憾。(最后有GPU运行的视频)
Ollama 通过 AMD ROCm 库提供支持,需满足以下条件:
- Linux 系统:支持 Radeon RX 系列(如 7900 XTX、6800 XT)、Radeon PRO 系列(如 W7900、V620)及 Instinct 加速卡(如 MI300X)。
- Windows 系统(ROCm v6.1+):支持部分 Radeon RX 和 PRO 系列显卡(如 7900 XTX、W6800)。
- 特殊覆盖设置:若显卡未被官方支持(如 RX 5400),可通过环境变量
HSA_OVERRIDE_GFX_VERSION 强制匹配相近的 LLVM 目标(如 gfx1030)。
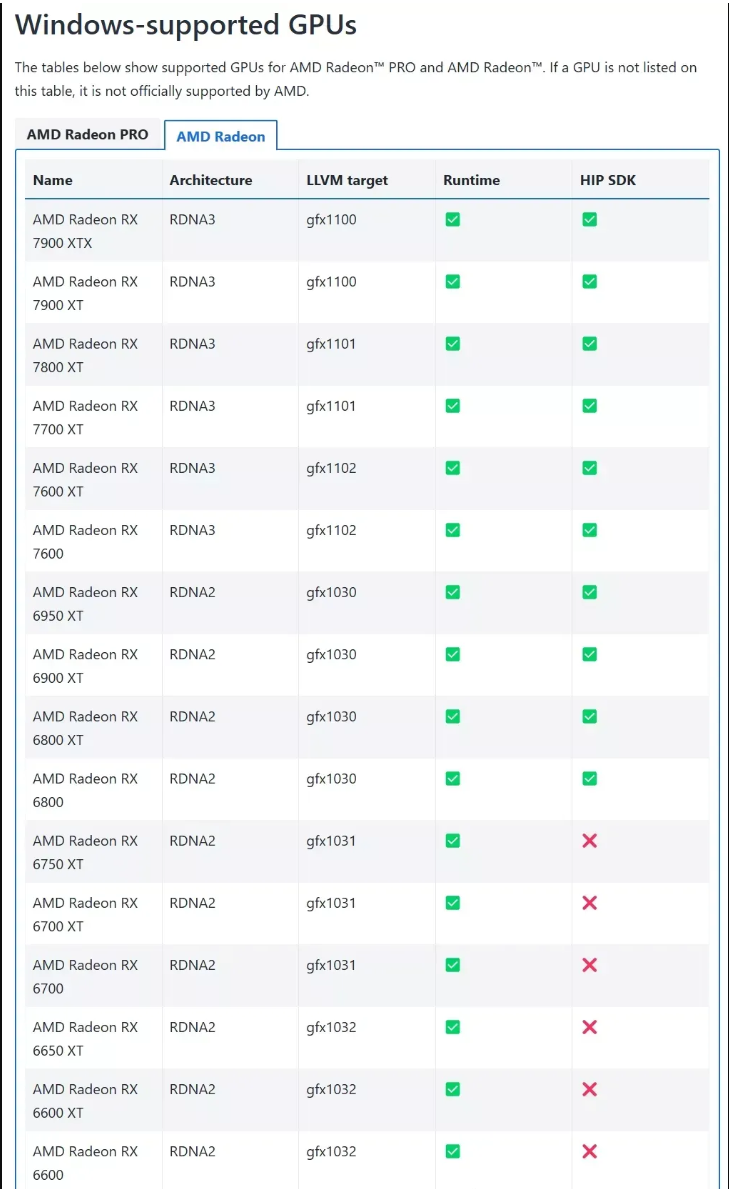
我们可以查看 amd 显卡是否支持 ROCm
访问:rocm.docs.amd.com,查看是否有你的显卡型号,如果有,再看列表后面的 HIP SDK 是否为打勾,两者满足时直接下载并安装 AMD 官方版本的 ROCm 和 Ollama 的官方版本就能使用。


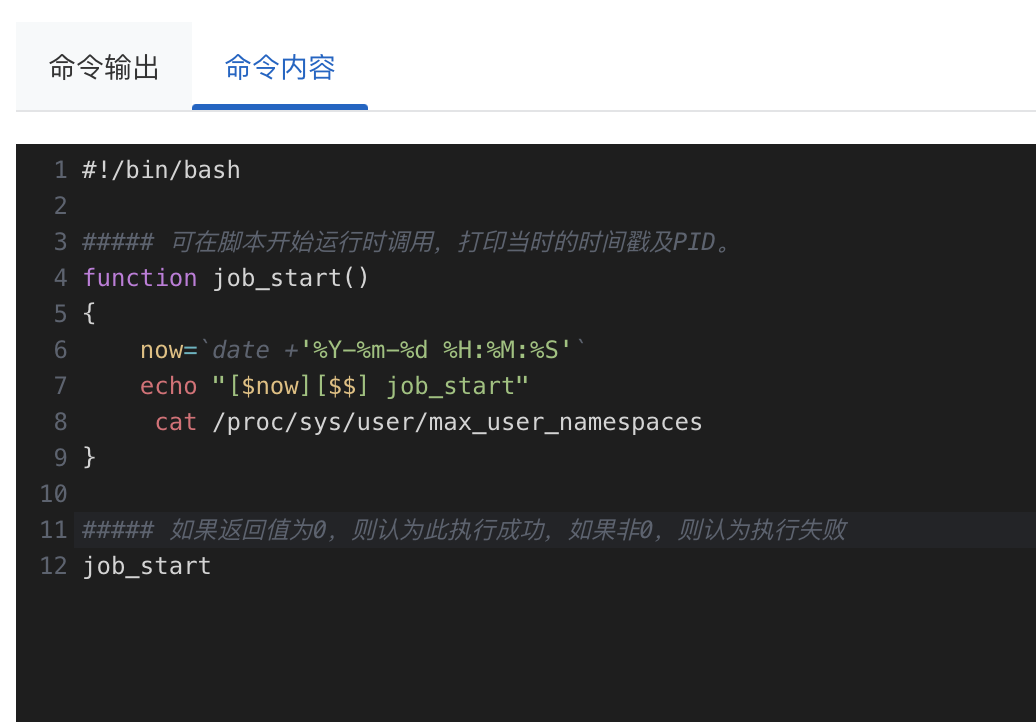
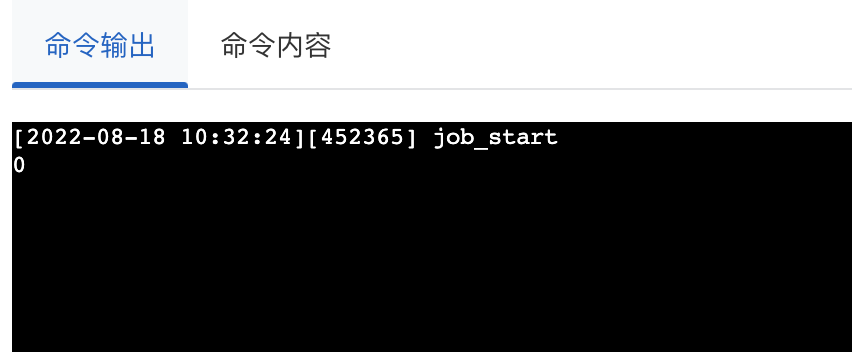
 查看日志如下: